In this blog I will describe how to configure the Citrix NetScaler as Forward Proxy. This installation/screenshots are based on an NetScaler VPX 1000 Platinum license, so there could be some slide differents between the screenshots. The Citrix NetScaler is a good product for replacing Microsoft TMG. Microsoft TMG is end-of-life so customers a searching for another solution. Besides Forward Proxy the Citrix NetScaler could also be an Reserve Proxy. This will be explained in another blog shortly.
In order to use the Citrix NetScaler as forward proxy you should have at least the NetScaler Enterprise or NetScaler Platinum edition license available, because the cache redirection feature needs to configured for this.
Configure Citrix NetScaler as Forward Proxy
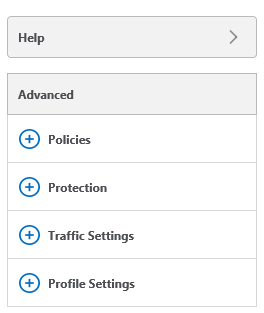
Enable Feature
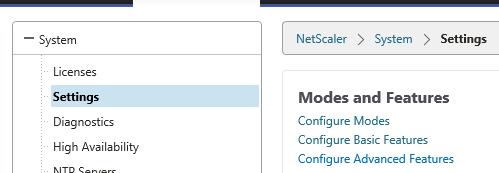 Select System, Settings, Configure Advanced Features
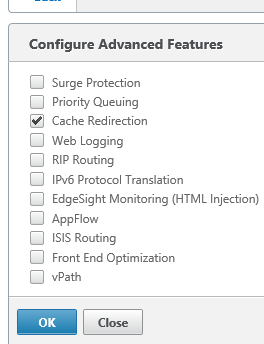 Select at least Cache Redirection and click OK
Select Configure Basic Features
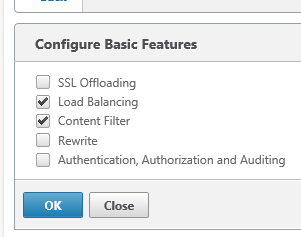 Select at least Content Filter and Load Balancing and click OK
Create DNS Load Balancing
The Cache Redirection Feature requires an DNS Load Balancing VIP in order to work. So this is the first step.
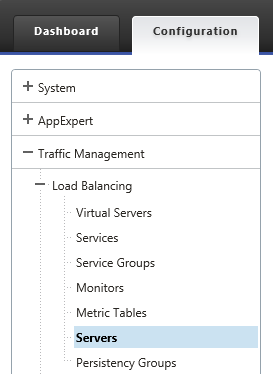 Select Traffic Management, Load Balancing, Servers
 Click Add
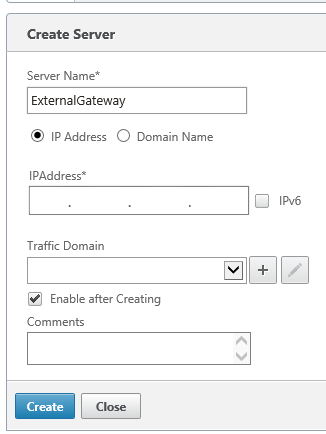 Server Name: I used ExternalGateway because I have just one DNS server in my homelab.
IPAddress: Enter the IPAddress of the DNS server
Create for every DNS server you want to use an Server.
Select Service Group
Click Add
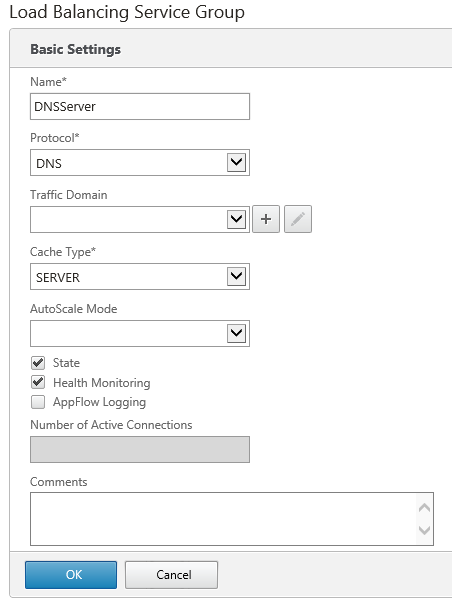 Name: DNSServer (choose the Name you want)
Protocol: DNS
Click OK
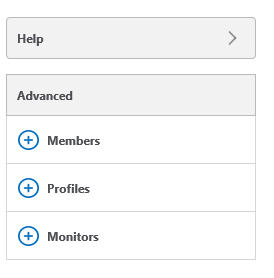 Click on Members under Advanced on the right side
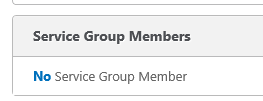 Click on No Service Group Member
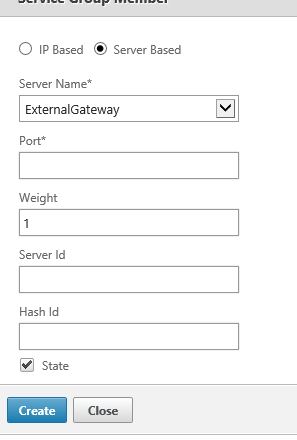 Select Server Based
Server Name: select at least one of the created Servers.
Port: 53
Click Create
If you want to add more, select x Service Group Member(s) and repeat above steps!! Else click Done
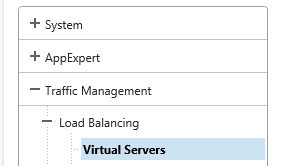
Select Virtual Servers
Click Add
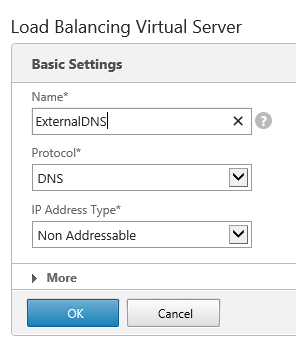
Name: ExternalDNS (or something else)
Protocol: DNS
IP Address Type: Non Addressable
Click OK
I selected Non Addressable because I don’t have to have access to this Load Balancing DNS Virtual Server outside the Citrix NetScaler
 Click OK
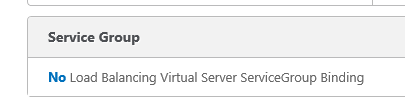
 Click on Service Group under Advanced on the right side
Click on No Load Balancing Virtual Server ServiceGroup Binding
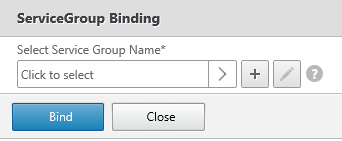 Click on Click to select
 Select DNSServer (or the name you choose in the above steps)
Click OK
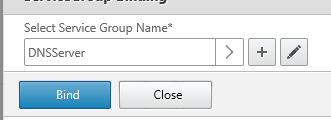 Click on Bind
![]() Click Done
Click Done
Create Cache Redirection Server
Now we can create an cache redirection server
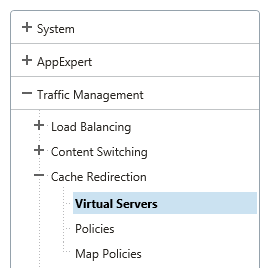 Select Traffic Management, Cache Redirection, Virtual Servers
![]() Click Add
Click Add
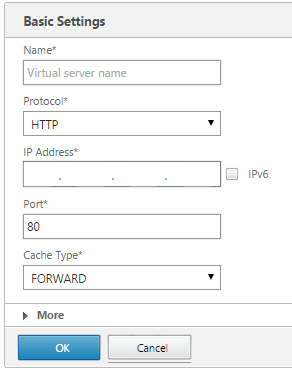
Name: The Virtual Server Name you like
Protocol: HTTP
IP Address: The IP Address the Virtual Server should respond on (this IP Address needs to be configured on the clients as well)
Port: The Port the Virtual Server should respond on
Cache Type: FORWARD
Click OK
Click on Policies under Advanced on the right side
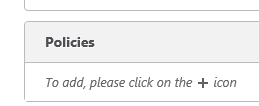 Click on To add, please click on the + icon
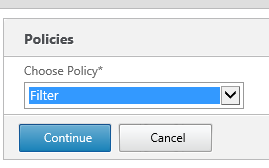 Choose Policy: Filter
Click Continue
I choose Filter as policy because I want to create rules which server as access to a particular website.
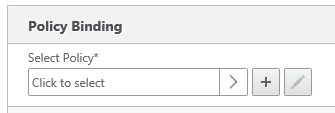 Click Click to select to bind policies
![]() Click Add
Click Add
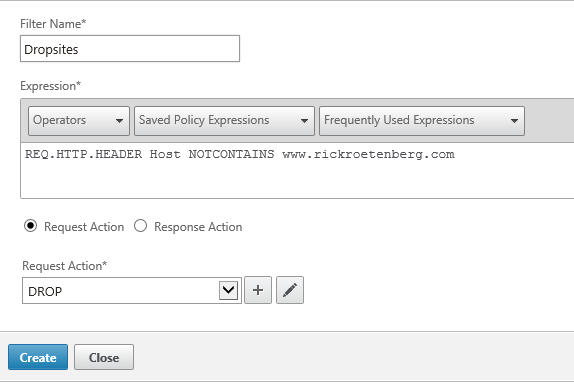 Filter Name: Dropsites
Expression: REQ.HTTP.HEADER Host NOTCONTAINS www.rickroetenberg.com
Request Action: Drop
With this expression every request will be dropped by the NetScaler unless you requesting www.rickroetenberg.com
Another example:
REQ.HTTP.HEADER Host CONTAINS www.rickroetenberg.com && REQ.IP.SOURCEIP == 10.0.0.102
In this example www.rickroetenberg.com will be dropped on the server with IP 10.0.0.102. All other servers/workstation which use the Citrix NetScaler as proxy will be allowed the visit every website.
Click Create Click OK
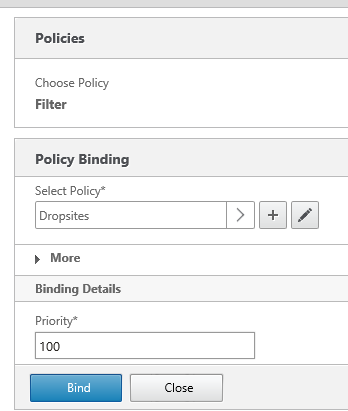 Click Bind
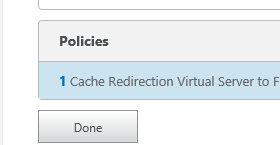 Click Done