In this blog I will describe the installation of Microsoft Certificate Authority. This installation/screenshots are based on an Windows 2012R2 server. The Certificate Authority will be installed a lot in the future I guess because you can’t request public certificates with an internal server name anymore with an expire date after the 1st of November 2015. Especially Microsoft Exchange Servers are using certificates with internal server names configured.
Installation Microsoft Certificate Authority
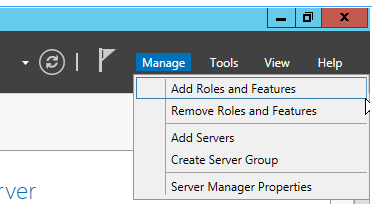
Start the Server Manager and click op Manage and select Add Roles and Features
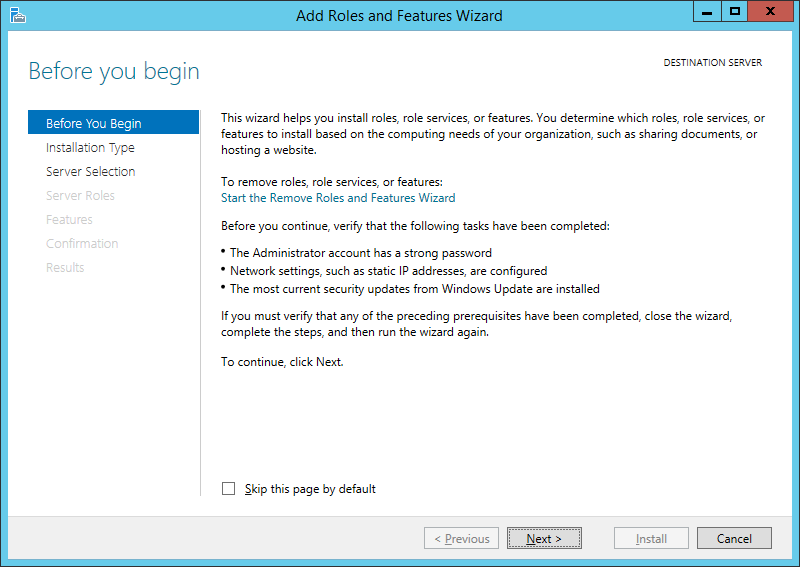 Click Next
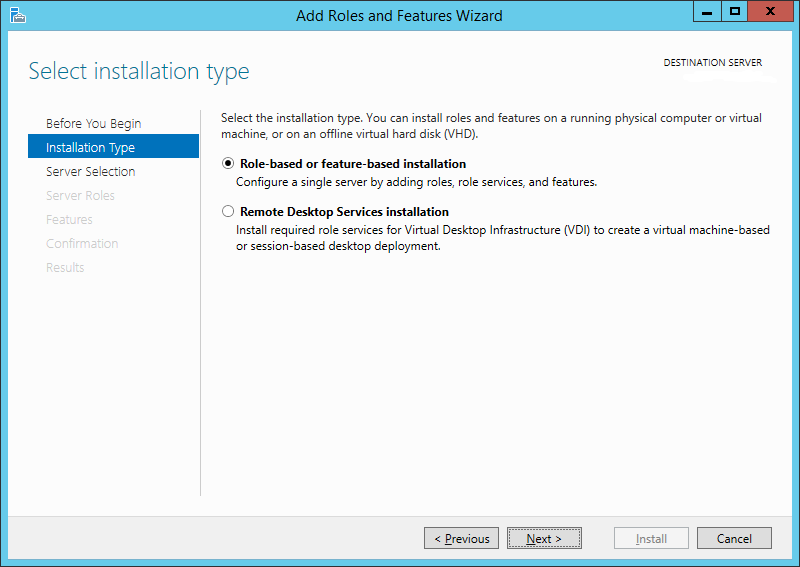 Select Role-based or feature-based installation and click Next
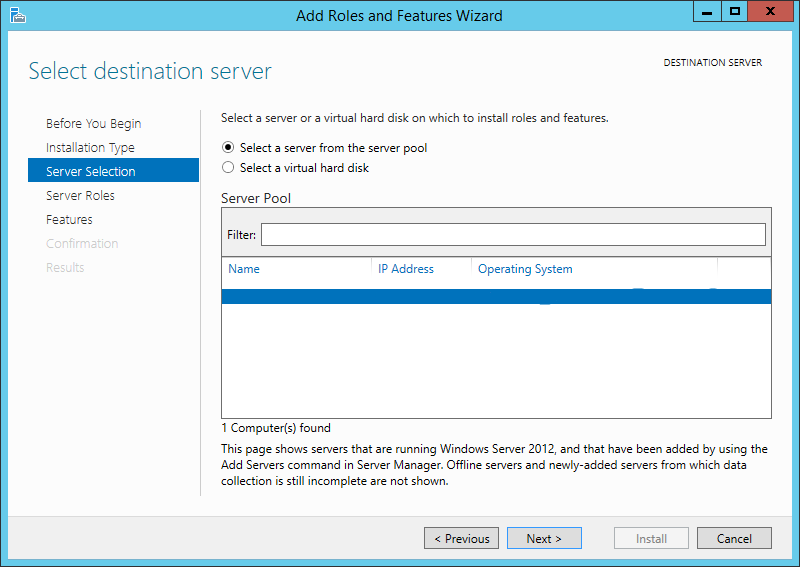 Select Select a server from the server pool, select the server and click Next
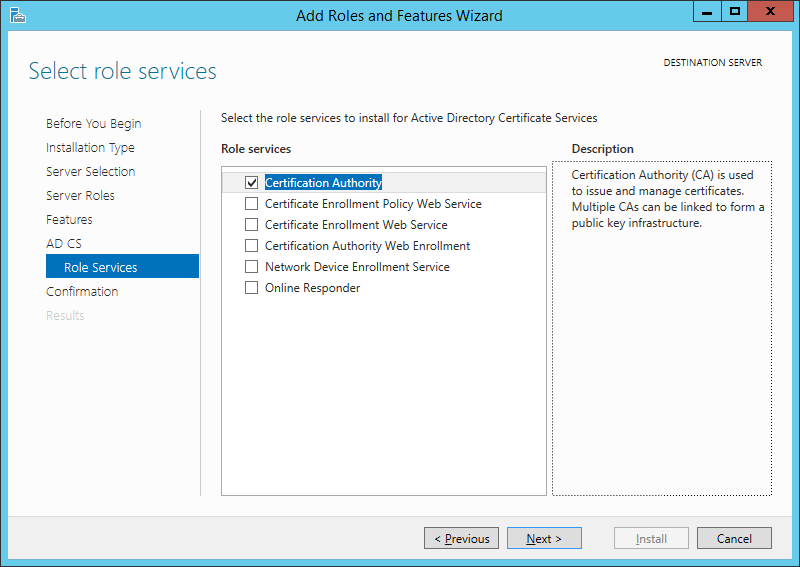
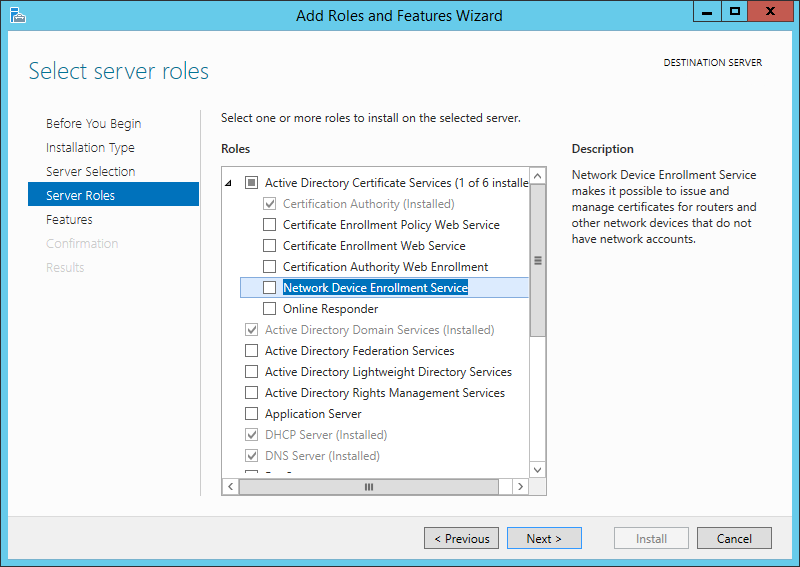 Select Active Directory Certificate Services and enable at least the Certification Authority.
In the blog I’m not installing the Certificate Enrollment Web Service because I’m using the Certificates Add-in through mmc.exe to enroll certificates.
Click Next
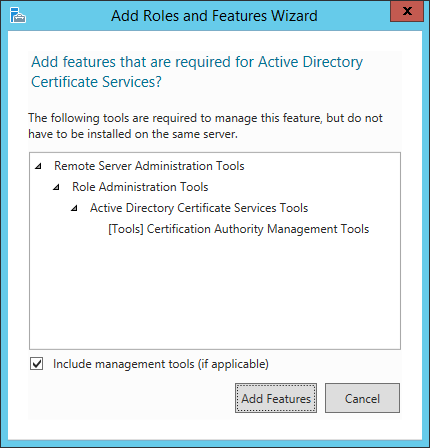 Windows will install some additional features on the machine to use the Certificate Authority. Click Add Features
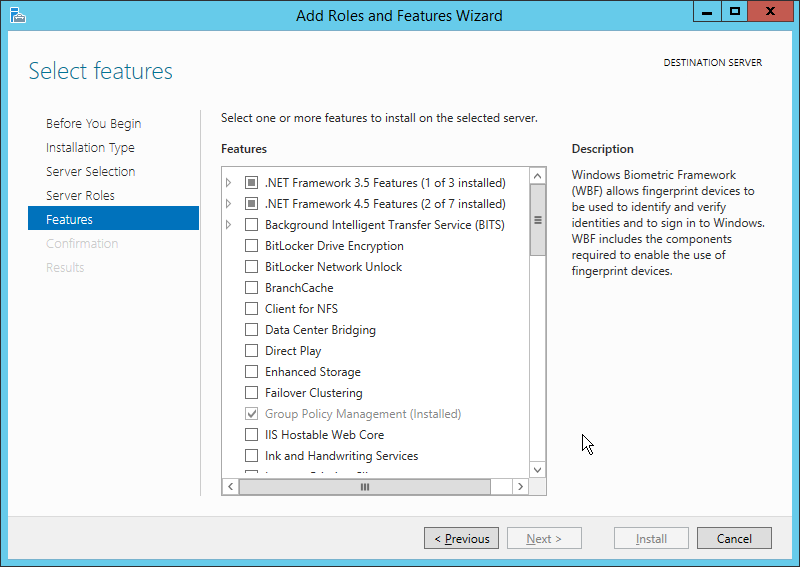 Make sure that .NET Framework 3.5 and 4.5 Features is selected and click Next
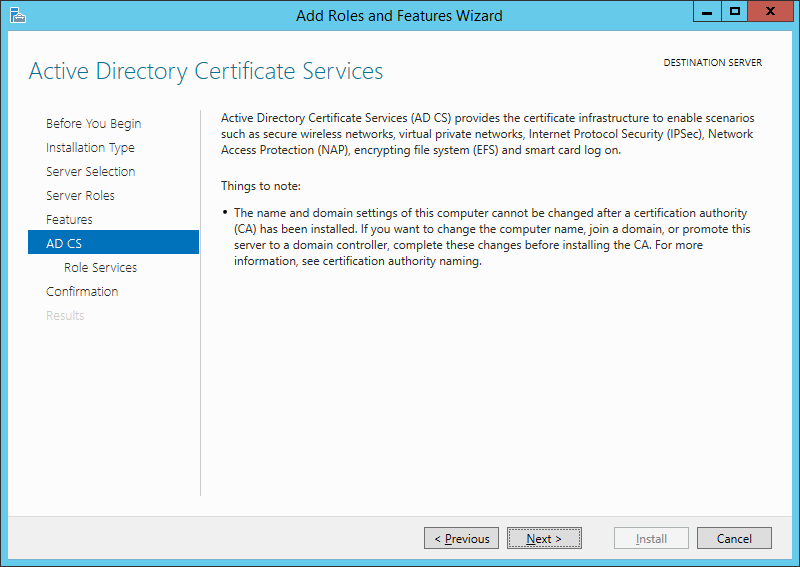
Click Next
 Select Certification Authority and click Next
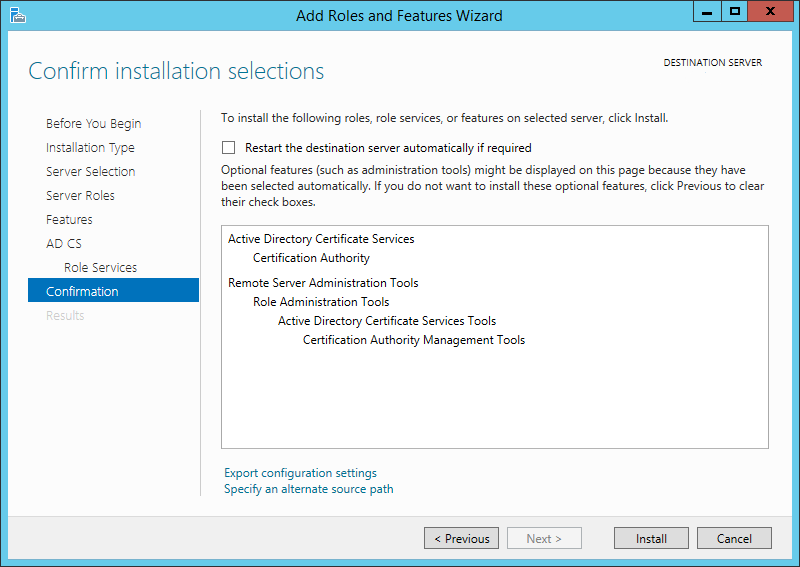 Click on Install. The Certificate Authority will be installed shortly.
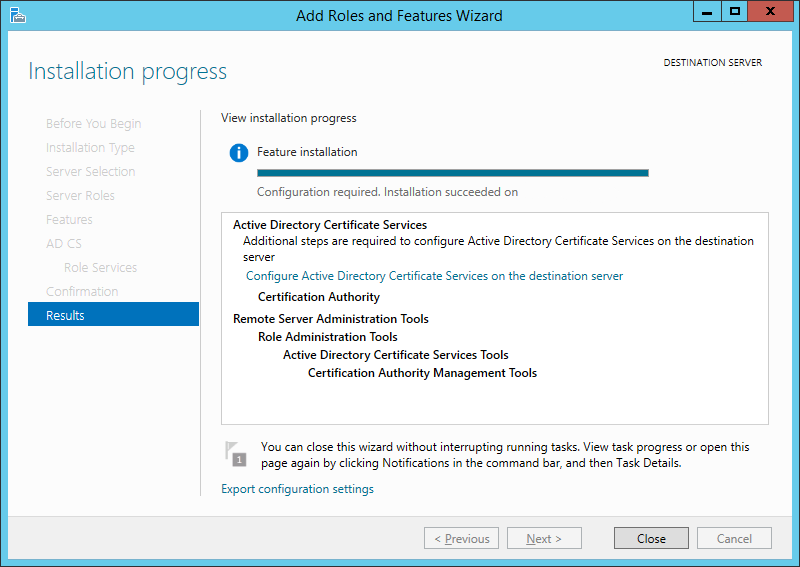 Click on Close. Restart the server if necessary.
Configuration
This chapter will describe the configuration of the Microsoft Certificate Authority.
 Start the Server Manager
Click on the Flag and select Configure Active Directory Certificate Services
 Full the Credentials box and click Next
 Select Certification Authority and click Next
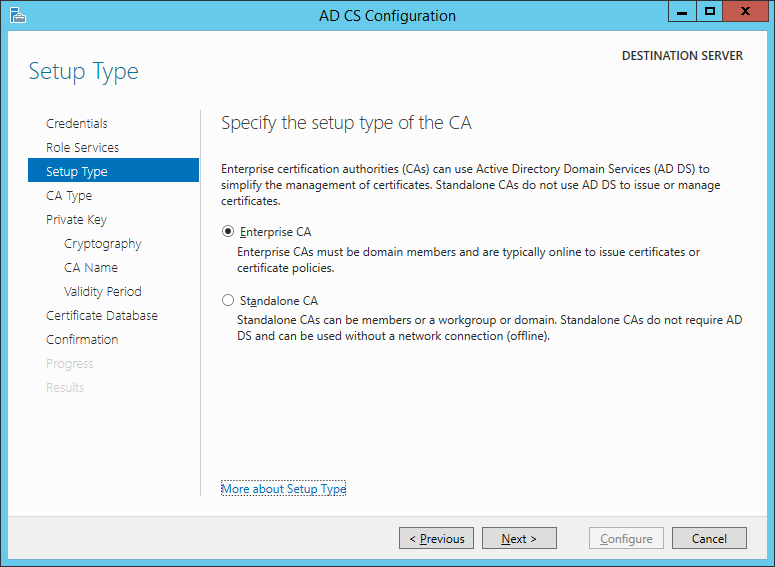 Select Enterprise CA if you´re using an Active Directory environment
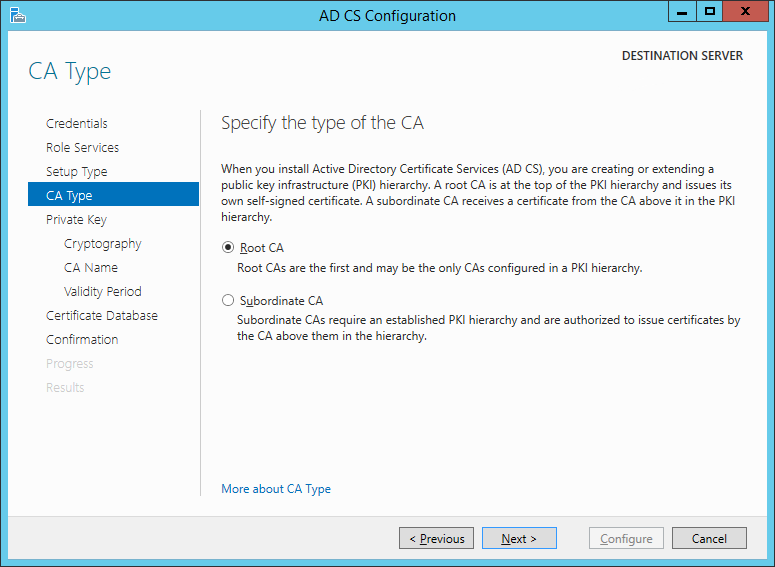 In this case I’m only using an root CA, that’s why I’m selected the Root CA option.
Click Next
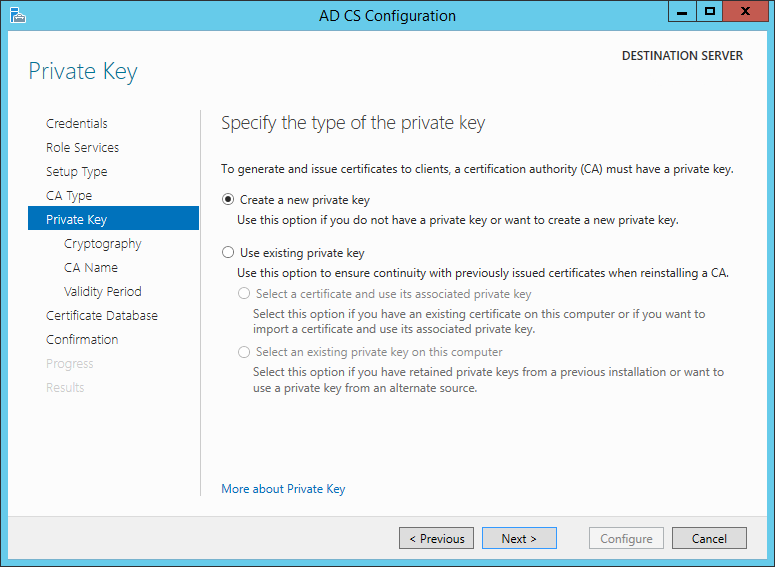 Select Create a new private key if you don’t have an private key. Else select Use existing private key.
Click Next
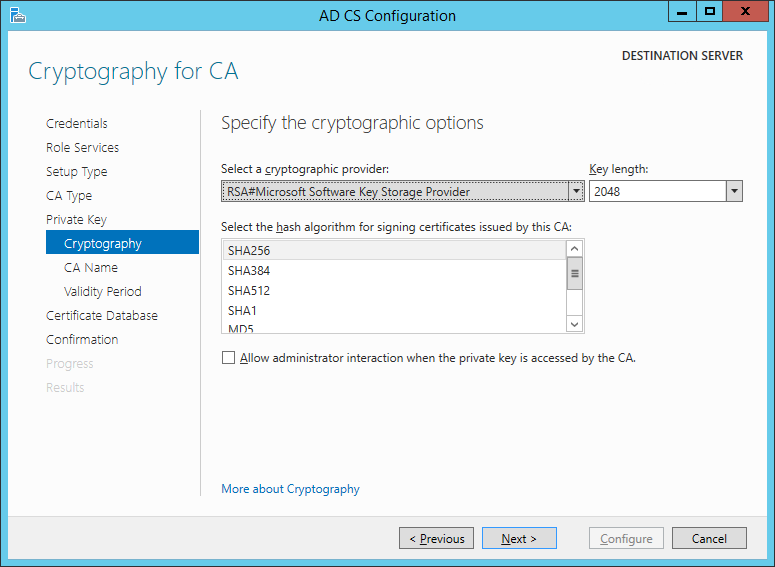 Select Key Length: 2048
Algorithm: SHA256. SHA1 will be end of life shortly
Click Next
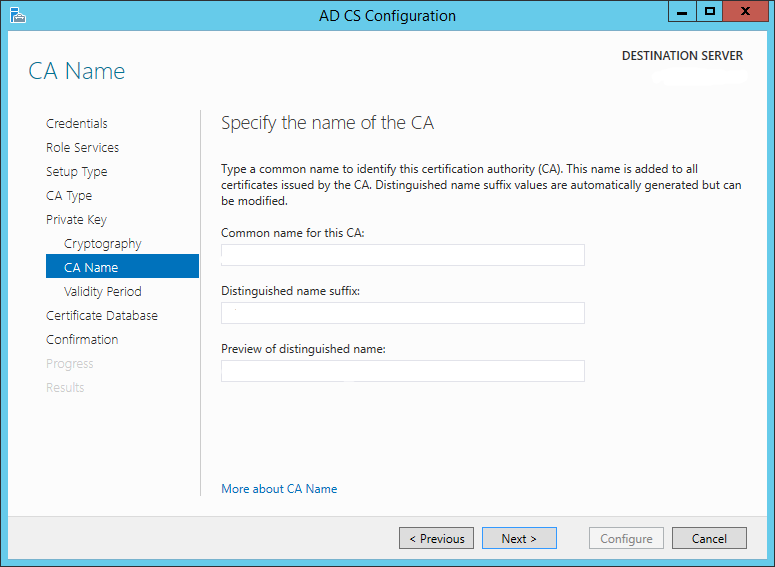 The above field will be filled automatically. Change the names if you wan’t.
Click Next
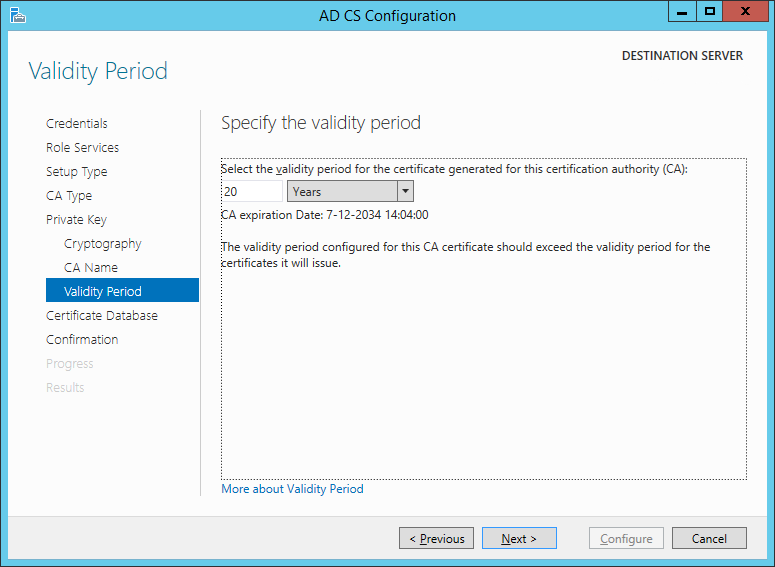 Change the CA expiration date if you like that
Click Next
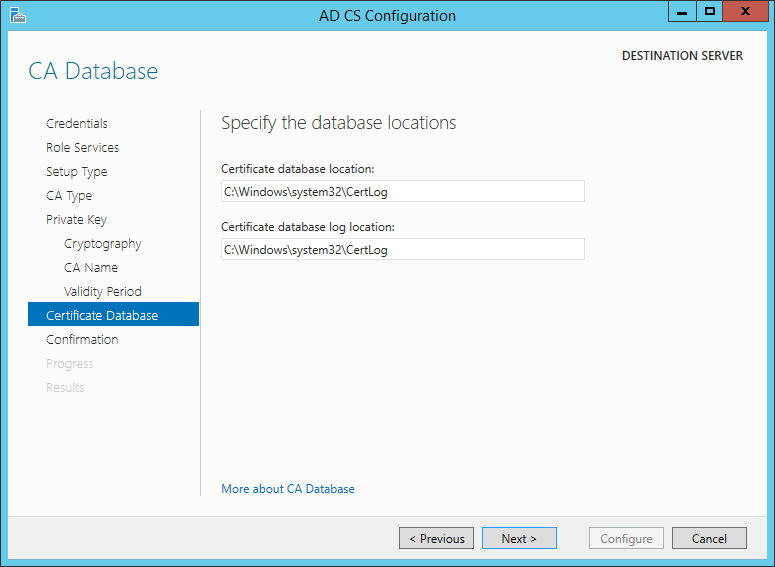 Change the database location and database log location if you like that.
Click Next
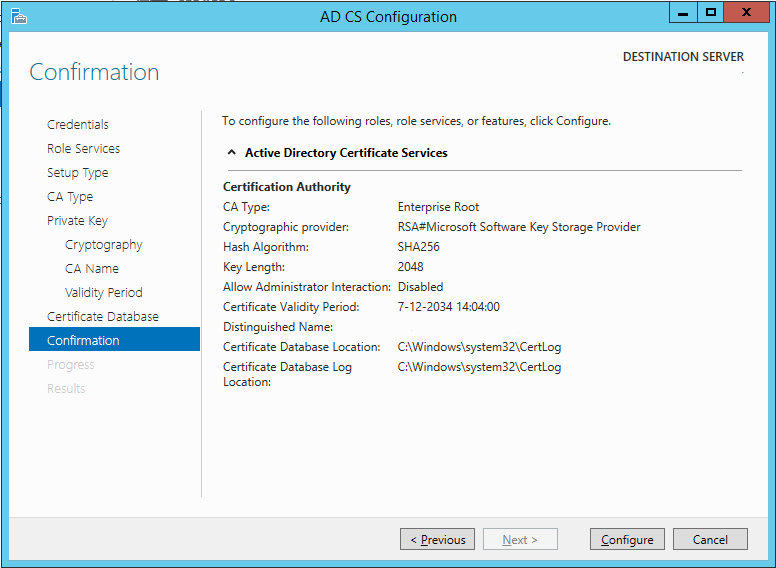
Select Configure. The Certificate Authority will be configured in a few minutes
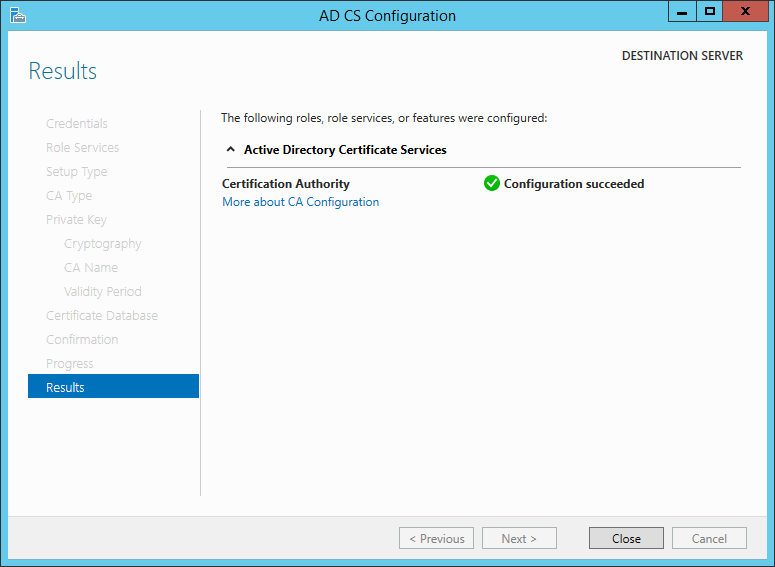
Click Close. The installation and configuration for Microsoft Certificate Authority is completed